Just about anyone who installs a solar panel has one simple question – where should I point this darned thing? That silly sun moves around all the time.
It moves sideways all day – every day, and up and down, all year – every year.
Unless you have a fortune to invest in a mechanical tracking system, those expensive panels only point directly at the sun for a few minutes in any day; and that assumes your panel is perfectly tilted for the season.
Really, any solar panels work its very best a few hours every year – when it’s pointing straight at the sun. The rest of the time the sun is someplace else and those panels don’t work quite as well.
How about pointing the sun instead of the panels?

You’re probably thinking that this guy is totally bonkers, wacko, and nuts. How can you point the sun at anything? Well – we’ve been doing it for a very long time – with mirrors.
My first solar aiming project ended up with much less electricity than I’d hoped for, and I eventually I realized I’d be pretty poor if I tried to afford enough panels to actually power a home without doing something different.
A journey to nearest HomeDepot yielded chipboard, and reflective plastic. Thirty minutes later, a 32 square foot mirror reflected more light toward the solar panel.
Tweaking angles, yielded about 15% more power, from the sum of reflected and incident light. Not only did the reflector yield more power, the power stayed higher as the sun moved sideways.
The reflector was cheap enough and effective enough to suggest that a reflecting solar system, based on a big mirror – could be both affordable, and more efficient than conventional direct incidence solar designs.
Later, life granted my wish – the opportunity to build what is probably the biggest residential solar reflector in North America – about 4000 square feet.
The Solar Scoop
A mirror has two dimensions. The depth determines the scoop – how far the collector reaches toward the sun to harvest light.
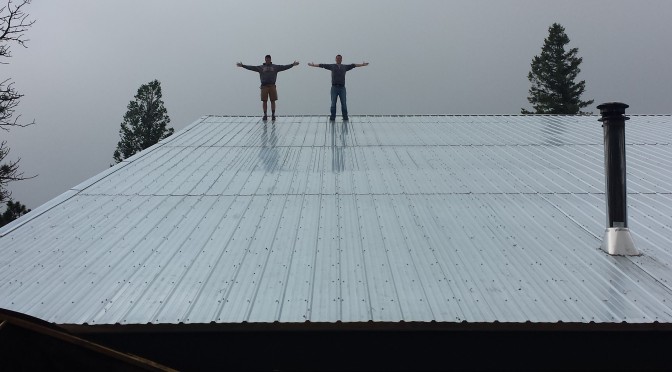
The roof reaches toward the sun by 60 feet, and scoops light. The sum of incident and reflected light remains about constant all winter, autumn equinox to vernal equinox, and measures close to the amount of light from pointing directly at the sun.
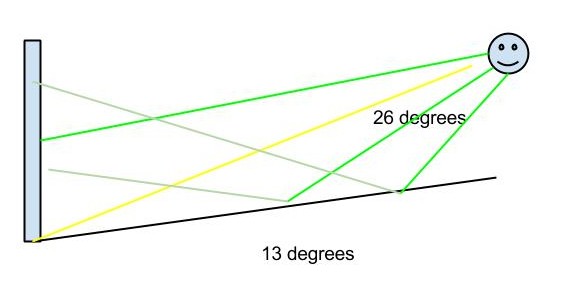
The width determines the sweep, how long day the scoop would work. The rectangular roof here has has over a 90 degree sweep, so it scoops light toward the collector panel (at the back) at least 4 hours every day.
The scoop is longer toward the corners, so the light concentration to the back absorbers, remains nearly constant as the sun arcs from one side to the other.
The combination of scoop and sweep determine how much extra power a solar collector can produce by sending it more light through more of the day. More light for more of the day mean more power.
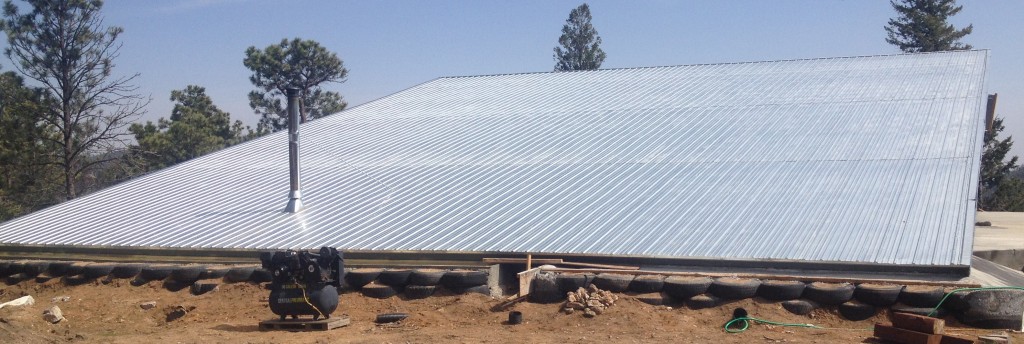
This roof tilts at 12.5 degrees, about 1/2 the sun angle at noon on the winter solstice.
The scoop depth varies from 90 ft to 60 back to 90 ft as the sun arcs across the south daily. The final roof is about 60 ft by 60 ft. The roof scoops and concentrates about twice as much solar energy from the sun in a day as a fixed panel installation would likely produce.
Light Measurements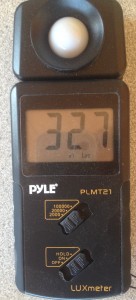
Just after vernal equinox, April 6, a light meter shows 80K-120K LUX, as the sun traverses the solar scoop arc daily between the corners of the roof, for about 5 hours.
The direct sun creates about 90K LUX on the meter, so the roof concentrates enough light to get direct sun for 4 hours a day.
This is somewhere over twice as much energy than a normal fixed directed device.
Simplest Solar Device Installation
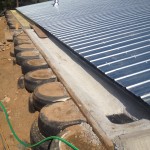
She solar panels are at ground level, maintenance and installation are a simple as it gets. They’re mounted on the ground. The rammed earth tire-wall is the foundation for the solar device mounting.
Alert readers may notice that solar devices are not on the roof. This means there is less risk of roof damage from severe weather conditions, and no extra holes in roofing material that could create leaks.
Permit simplification
You also avoid asking the local building department and electrical authorities to permit and inspect changes to your living structure.

Solar installation is just like putting up a solar panel in the yard. As the panel supports do not depend on the living structure and have their own foundation.
You may need a permit to put panels in your yard, but the permit process will probably be a lot simpler than roof mounted panels.
Winter Performance
Both incidence and reflected collectiion efficiency increase during winter, when the sun is lower, light glances off of the roof at a shallow angle; and strike the vertical back wall more directly.
Efficiency is lowest when the sun is highest in the sky, mid summer, but power demand is lowest.
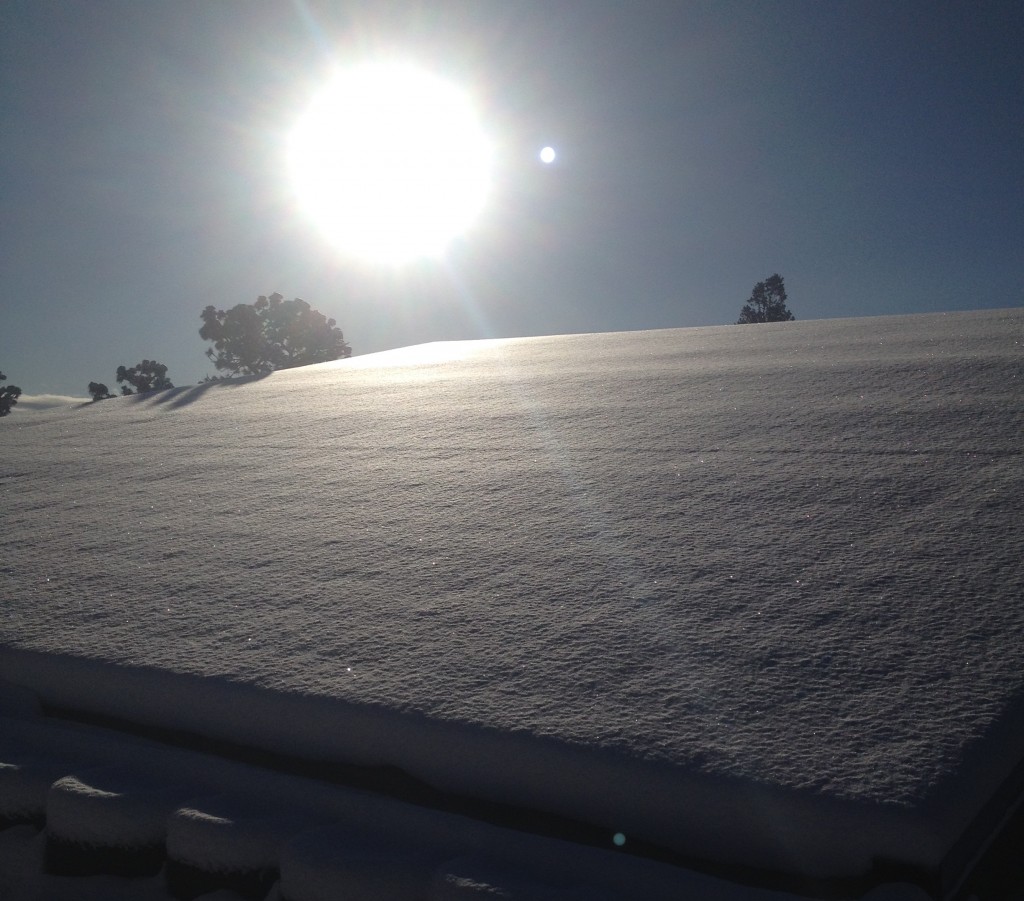
The solar panel wall is not installed yet so you can see the “brightness” of the reflection. On this snowy day the upper corner is almost as bright as the sun itself.
Also, the snow on the roof adds R-1 per inch, so while it’s cold, the snow serves as supplemental insulation. This roof is constructed hold up to about 10 feet of snow, at about 100 lbs sq/ft, about twice what local building codes require.
Melting Snow
Northern slopes tend to retain snow. This is not true on this roof.
Once the sun hits, the snow melts almost as fast as on nearby ground because the reflected light transfers the suns energy to the snow lying on the metal roof. This snow melted within 48 hours, about 40 percent longer than it took to melt off the bare ground.
Water Collection
This six inches of snow melted a big stream of water into the concrete gutter, availing this entire 2400+ gallons moisture to storage.
The concrete gutter lays on the ground is bomb proof. I doubt if it will ever fail. It drains into 6 inch pipes which carry water away from the house, and later to rainwater collection reservoirs.
Summer Thermal Performance
A shiny slanted roof deflects energy instead of absorbing it. This effect improves the summertime thermodynamics of the roof. This shiny roof deflects 70% or more of the incident radiation without converting it into heat. The inside stays cool all summer, about 72 degrees.
In normal construction roofing material absorbs light and converts it to heat all day. This creates a very hot surface temperature, which must be thermally isolated from the living space.
The roofing material gets so hot in the summer that it takes a massive amount of insulation to keep the inside cool.
This hot-layer design drives crazy building codes that mandate huge insulation requirements, R-38 or more insulation in ceiling structures to keep living spaces cool in summertime.
Aesthetics
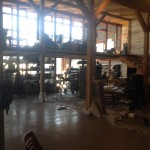
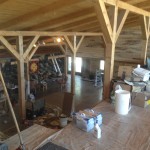
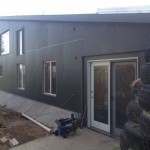
Even though function was the goal, the wedge architecture created nice and roomy living space. The inside is crazy big, and the outside had a sleek ultra modern presentation. We’re still building – so excuse the construction artifacts.
The interior yields about 4200 square feet including room for a 1000 sq ft loft, and a 16,000 cubic foot, 22 feet tall greenhouse.
The post and beam construction was mostly cut from trees scorched by the forest fire that burned the original log cabin structure.
Solar Absorption Profile
This simple design uses over 80% of the structure’s external surface area to gather energy.
The South wall is about 1000 square feet of glass as passive solar. The 4000 square foot roof scoops and concentrates the sunshine to the back solar wall. Only the East and West side walls, about 1000 sq/ft total, do not collect sunlight.
Most modern green homes only utilize the roof to mount solar panels to discard over half of most structure’s energy potential as waste heat.
Extreme Economy
The structures efficiency parameters suggest high construction cost.
Nothing could be further from the truth. The final material cost for the entire structure is in the range of 20$ per square foot.
This seemingly low-tech flat roof, is the simplest possible structure to build. The absence of detail reduced materials and labor to the absolute minimum cost. The simplicity enhances reliability as it lacks joints, crevices and water capture areas that fail under harsh conditions.
The materials for this roof structure were:
- Rough cut lumber – $.80 board foot x 4000 = $3200
- OSB – chipboard – 125 sheets @ $10 = $1250
- Metal Roofing – $1.00 square ft = $4000
- R-42 Insulation (Repurposed Materials @ $25 / sheet) = $6250
- Roofing Screws = $1000
- Roofing Underlayment = $500
- Onsite engineering lumber inspection $500
Grand Total Roof Materials: $16700 / 4000 = $4.18 per square foot
What kind Solar Panels
So far, I’ve been intentionally vague about the kind energy the solar panels will gather. A solar panel is a device that faces the sun to gather energy as heat, or produce electricity.
Solar Intensity Challenge
Are today’s solar panels tough enough to sit in full sun, or slightly more, for up to 4 hours a day, and produce twice the energy than a normal installation?
Most electrical solar panels come with a 25 year warranty assuring 80% performance at end of life. This means that manufacturers guarantee less than .8% per year loss in power regardless of installation.
But are they tough enough not fail twice as fast in the solar scoop?
The scoop design is different from a direct sun-facing installation:
- Cost per watt matters half as much – Each panel will produce about twice as much energy per day so the total panel expense will be about half;
- Durability matters twice as much – Each panel will endure twice as much incident energy – every day
- Panel mounting will cost half as much, (or less due to on-ground).
Panel Selection by Price and Warranty
The energy density of a scoop panel installation suggests the most important factor for panel selection is the cost per watt at warranty end of life (instead of initial purchase price).
Scoop installation challenges the panel with about twice as much energy for it’s entire lifetime. Some numbers from the Cost per watt analysis for the least versus most expensive panels:
- SunTech = 2.71 ($/watt) / ( 80% watts/end of life ) = $3.39
- SunPower = 4.61($/watt) / ( 87% watts/end of life) = $5.29
In this example, the assured performance for SunPower device reduces the apparent cost difference of a product with a better warranty is less expensive than it appears. The better warranted panel is only 35% more expensive instead of 41%.
It is tempting to spend a bit more what appears to be a premium durability panel – in preference to a less durable panel. Especially since the scoop design means half as many.
A warranty reflects the manufacturer confidence in the quality of their product. Since I’d prefer never to have to change out panels because they lost power, the warranty is the only source of information I have about the probable durability.
Poly-crystalline and mono-crystalline are reputed to outlast thin film devices. Caution suggests the warranted end of life performance is an important element in the decision to select any solar device.
The author remains open to evaluate different panels, both solar and hot water in this installation. Please use the contact form below.
